Green Shield Setup Guide: Precise Identification, Goodbye Ad Rejections

Green Shield lives in the domain layer of DeepClick return links — when creating a return link, simply choose a Green Shield domain, and the resulting link automatically gains visitor-identification capability: real ad users go to the product landing page, reviewers and scanning bots go to a non-product landing page.
This guide walks you through the full flow, from "creating a Green Shield return link" to "verifying its protection on the dashboard."
⚡ The short version: there's really only one step — when creating a return link, pick a Green Shield domain in the domain selector, and the link is live the moment it's generated.
Not sure what Green Shield does yet? See Green Shield: Never Lose an Ad Account to a Failed Landing Page Review.
Before You Start
Before creating anything, confirm these two requirements — without them, the Green Shield domain option won't be available:
Product type: the product attached to your return link must be Mobile App or Sales Leads. No other product type is supported.
Ad channel: the return link's media channel must be Meta. Other channels (Google, TikTok, etc.) aren't supported yet.
Once both conditions are met, move on to the steps below.
Part 1: Create a Green Shield Return Link
Step 1: Open the Return Links module
Log in to the DeepClick console and click Return Links at the top of the left navigation.

Step 2: Click "New Return Link"
On the return links list page, click the + New Return Link button in the top-left corner to open the creation panel.

Step 3: Choose your product
In the Product field of the creation panel, select the product you're promoting.
Note: only Mobile App and Sales Leads products support Green Shield. Pick any other product type and the Green Shield domain won't show up in the domain dropdown later.

Step 4: Set the channel to Meta
In the Channel field, choose Meta.
If the channel isn't Meta, the Green Shield domain won't appear among the domain options either.

Step 5: Pick a Green Shield domain
This is the key step in the whole setup.
In the link configuration area, find the Domain selector and open the dropdown. It will show two kinds of domains side by side:
- Standard domains: regular return-link domains with no traffic-identification capability
- Green Shield domains: dedicated domains marked with the Green Shield label — links generated with these automatically gain visitor-identification capability
Choose a Green Shield domain. Once selected, the panel will indicate that the link will be generated in Green Shield mode.

If there's no Green Shield domain in the dropdown, contact your account manager to have one configured.
Step 6: Configure the fallback page
In the FallBack Page field, select or create a return landing page.
See Fallback Page Setup Guide: Creatives Free From Platform Re-Review for details.

Step 7: Fill in the link's basic info
Fill in the return link's basic details:
- Link name (required): makes it easy to identify the link in lists and dashboards
- Notes (optional): handy for keeping context for your team

Step 8: Submit
Once every field is filled in, click the Submit button at the bottom of the panel.
After a successful submission, you'll return to the list page where the new return link appears. Click Copy Link to copy it to your clipboard, ready to launch directly in Meta Ads Manager.

Part 2: Verify Protection on the Dashboard
Once your Green Shield link is live, use the Green Shield dashboard to confirm identification is working as expected.
Step 9: Open the Green Shield dashboard
In the left navigation, under Return Link Features, click Green Shield to open the dashboard.

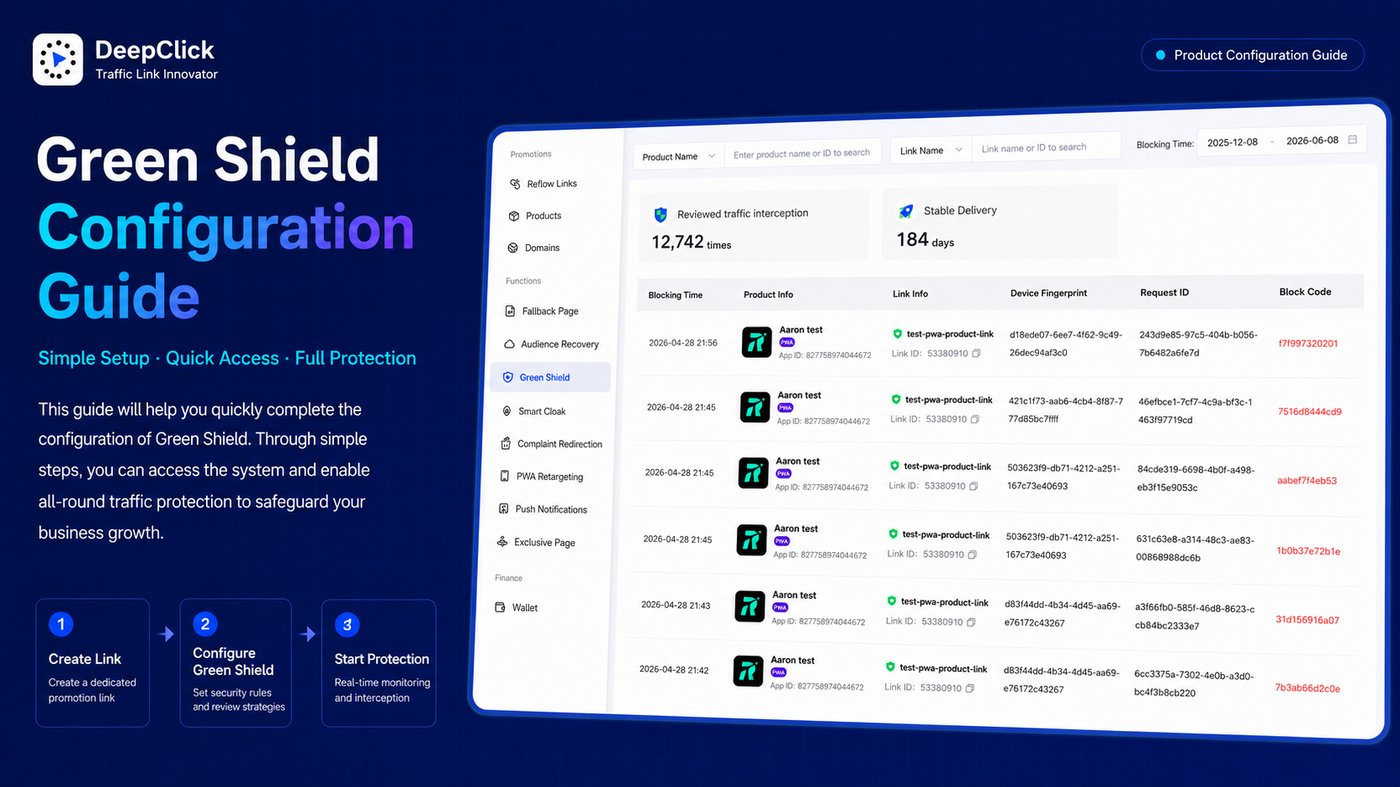
Step 10: Review the core metrics and block log
The dashboard shows two core metrics:
Audit Traffic Blocked: the number of review scan attempts that have been successfully intercepted. If this number starts climbing after your link has been running for a while, Green Shield is working as expected and intercepting probe requests from reviewers.
Days Running Safely: the number of days your ad has been running safely. As this number accumulates, it represents how steadily your return link has been operating under Green Shield's protection.
The block log table below records the details of every block event:
|
Column |
What it's for |
|---|---|
|
Block time |
Confirm when the block occurred |
|
Product info |
Confirm which product's link was visited |
|
Link info |
Confirm which Green Shield link triggered the block |
|
Device fingerprint |
View the unique device identifier of the blocked visitor |
|
Request ID |
A unique request identifier for technical troubleshooting |
|
Block code |
The unique block-identification code generated by DeepClick |
Filtering tip: use the "link name" filter to locate the link you just created, and set "block time" to "Today" or "Last 7 days" to focus on its early protection data.
FAQ
There's no Green Shield domain in the dropdown — what now?
Check the two prerequisites: is the product type Mobile App or Sales Leads, and is the channel set to Meta? If both are satisfied and the Green Shield domain still doesn't appear, contact your account manager for help getting a Green Shield domain configured.
No block records show up after launching the link — how do I know it's working?
Block records only appear once a review scan has actually visited the link. A freshly launched link may take some time before any block entries show up — that's normal. If a link keeps running with traffic but never produces any block records over an extended period, reach out through the business contact channel to check.
You're All Set
A return link created with the steps above takes effect the moment it's submitted, with Green Shield's identification running in real time. The dashboard's "Audit Traffic Blocked" and "Days Running Safely" metrics update continuously, so you can check on its protection status anytime.
If you have any questions, reach out to your account manager through the business contact channel on the DeepClick console.
Want a clearer picture of what Green Shield does? See Green Shield: Never Lose an Ad Account to a Failed Landing Page Review.